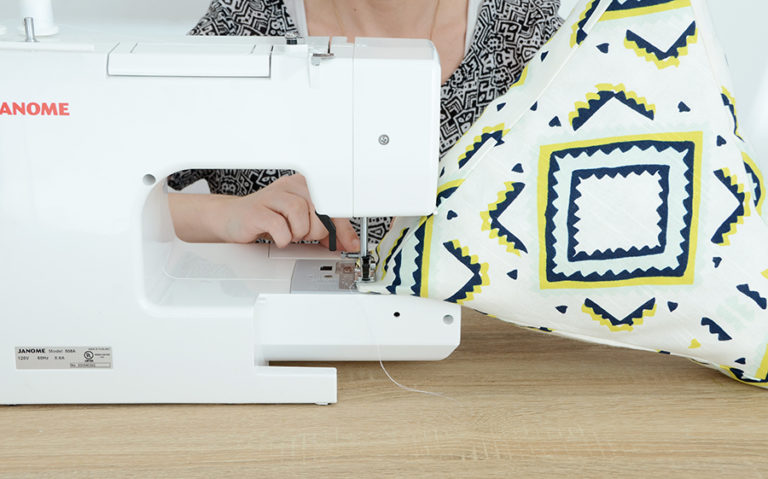
Easy DIY Triangular Throw Pillow
ll you’ll need for this project are basic sewing skills, fabric and a few other supplies. So let’s get started!


Here’s what you’ll need for your triangular throw pillow:
- 1/2 yard of fabric (any non-stretch type will do)
- Batting or stuffing from an old pillow
- Scissors
- Measuring tape
- Pins
- Sewing machine and coordinating thread

Begin by cutting your fabric to the correct shapes. First you will cut two equilateral triangles, with 15″ sides. You will also cut a long rectangle that is 50×4.” Then pin the edge of the long rectangle to one side of one of the triangles, with right sides together. At the corner of the triangle, turn the rectangle and continue pinning along the second side of the triangle.

Do the same for the third side of the triangle, and trim the excess fabric from the end of the rectangle as shown above.

Now, sew along the edges you just pinned with a 1/2″ seam allowance. At the corners, leave the needle in the fabric but raise the foot so that you can turn the piece and still maintain a clean corner.

It should look like the image above once you’ve finished sewing. Next, pin the other triangle to the raw edges of the rectangle just like you did before, to form an enclosed 3-dimensional triangle shape. Leave the area between the short ends of the rectangle open… this is where you will insert the stuffing.

Next, turn the fabric right side out using that small hole. Iron the seams so that they have a clean, crisp look.

Insert the stuffing until the pillow is very full and retains its shape. Be sure to arrange it evenly inside so that it doesn’t end up with a lumpy appearance.

Fold the two small edges in on themselves and sew across to keep the stuffing from falling out, as shown above. Trim any visible threads, and you’re finished!

This throw pillow adds a fun, geometric look to any room, thanks to its playful triangular shape. I played up that geometric feel by using a fabric with additional unique shapes.

This piece would also look great with a more organic design too, so feel free to experiment with a variety of fabric options. You might even consider using two different fabrics – one for the triangles, and another for the rectangular strip. The sky’s the limit. Happy sewing!

+ There are no comments
Add yours