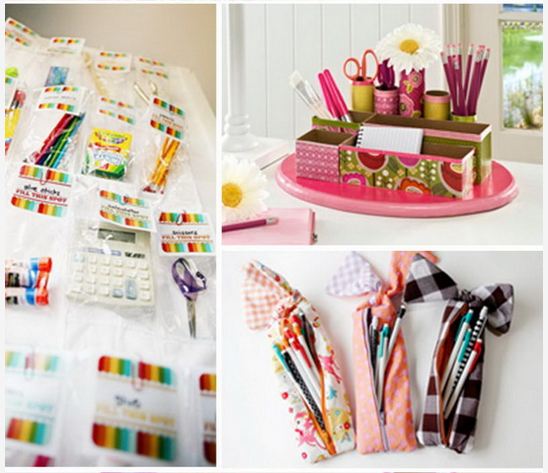
DIY School Crafts for Kids
Here are some creative back to school craft ideas which help your kids enjoy the days of the fun summer holiday and get into the back to school spirit.
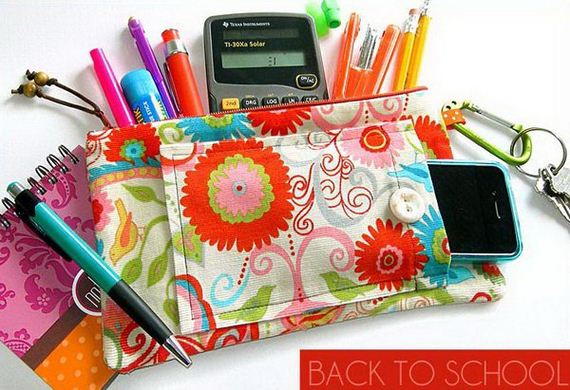
Zippered School Supply Case. Use beautiful patterned fabric to make and place pocket and loop, insert the zipper and finish it off with the final assembly. This is very useful to organize your stationary and the design is so pretty.source
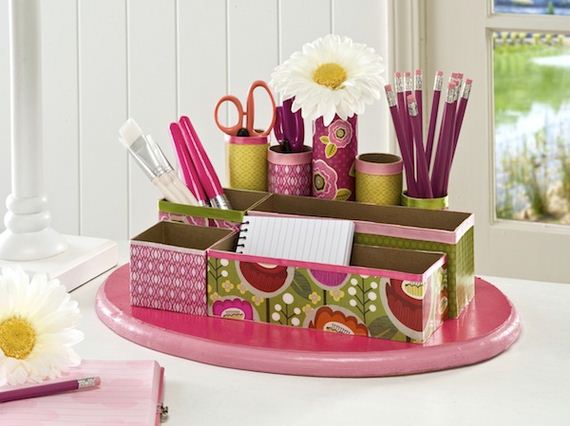
Back To School Desk Organizer. Trace your compartment on scrapbook paper and cut it out. Use craft glue to assemble the beautiful wrap-up for the compartment to give off its stunning outlook.source
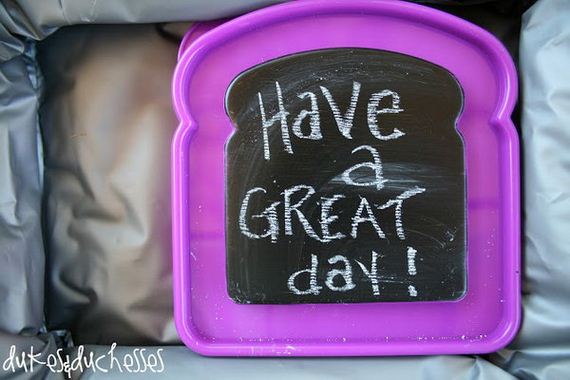
Chalkboard Lunch Boxes. Paint the lids of little containers with chalkboard paint to leave sweet notes to kids’ lunchboxes. Kids must adore this creative beautiful decor and it also serves as a good reminder.source
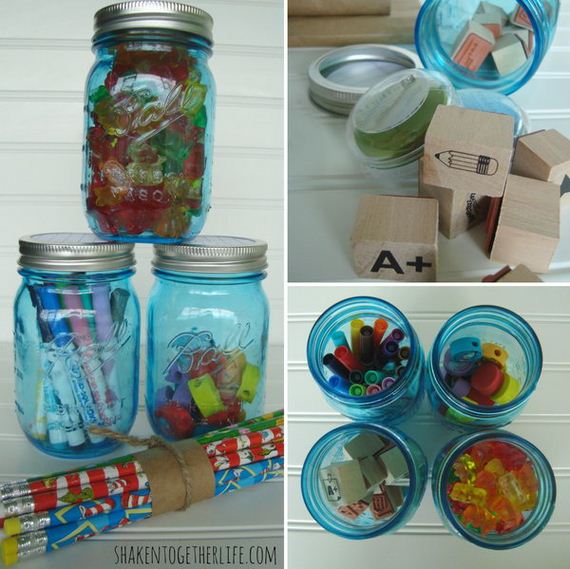
DIY Back To School Mason Jar Caddies. Paint the jar lid with meaningful patterns for the school year, such as bee hive pattern and notebook paper pattern. Fill them with back to school essentials to keep things organized in this awesome manner.source
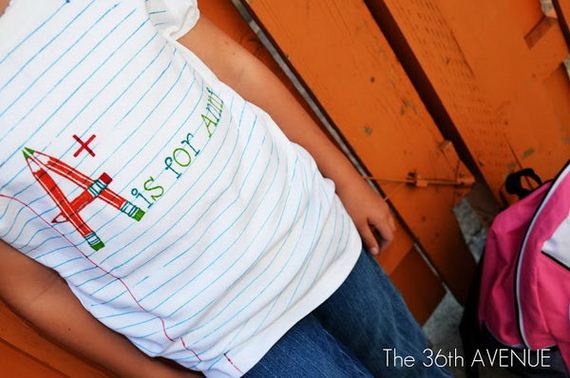
Back To School Name T-Shirt. Mark the horizontal lines with blue sharpie and the red one with red sharpie. Add some pattern with the help of vinyl. Kids must love this personalized T-shirt.source
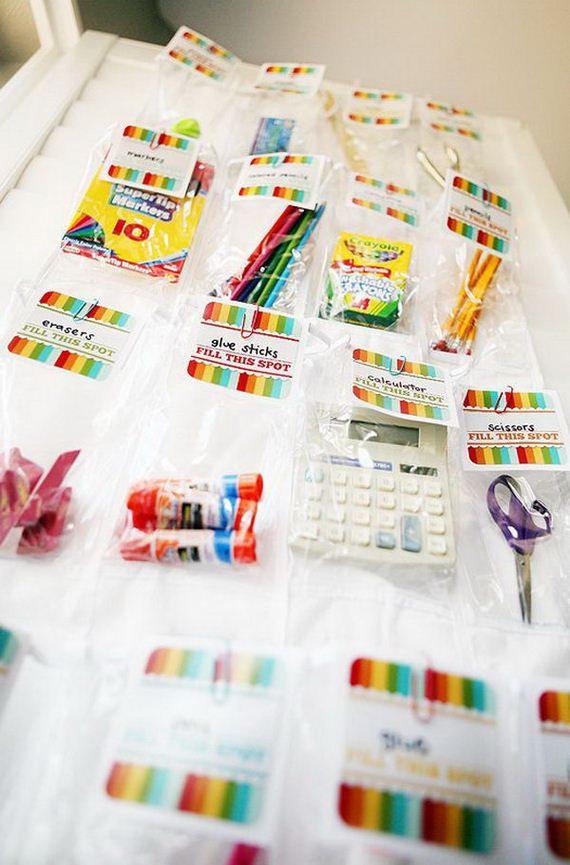
School Supply Organizer. Create this helpful art of work by trimming the cardstock, folding the excess part over the organizer sleeve and attaching paperclips to it. It’s super chic to keep school essentials organized in this smart way.source
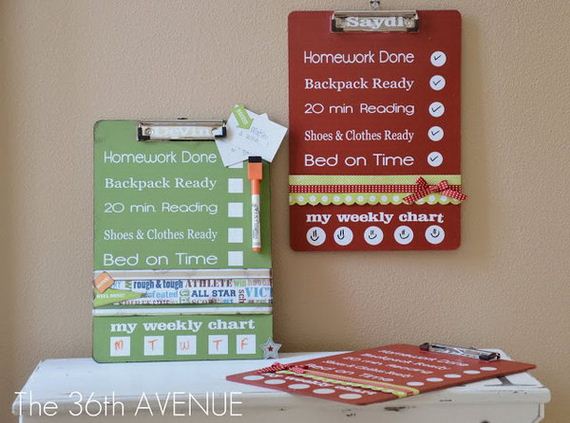
DIY Clipboard Charts. Paint the clipboards, use vinyl to add polka dots and embellish clipboards to finish it off with a stunning decor. It is not only adorable with its outlook but also useful with its practical usage.source
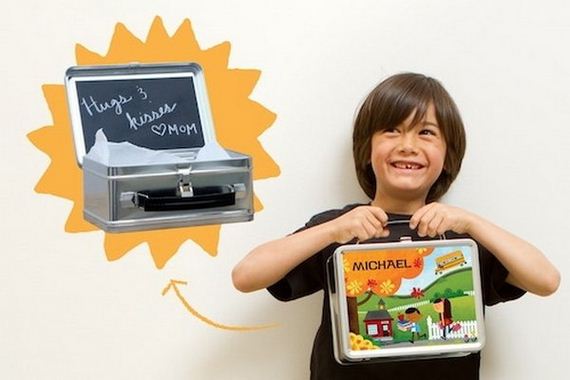
Revamped Lunch Box. Prepare the menu or recipe ahead to avoid scrambling ideas in a hurry. Pack lunches beforehand and leave some handwritten notes to surprise your kids with this revamped lunch box.source
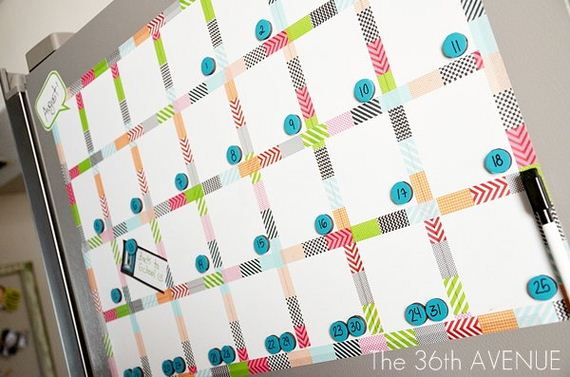
Magnetic Calendar. Mark measurements on the vinyl, add washi tape to finish the calendar, mark the date on the vinyl and adhere them to the magnets to complete the magnetic calendar board. It’s so fantastic to mark the date with this gorgeous piece of art.source
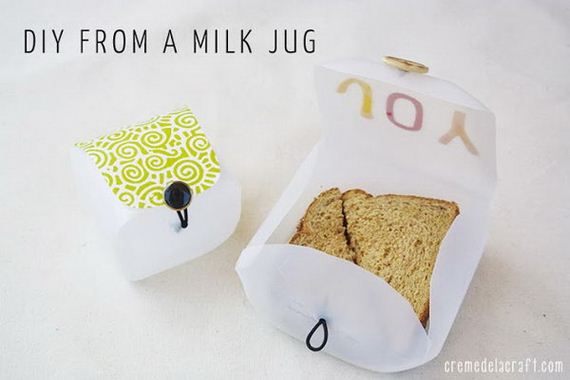
Milk Jug Sandwich Protector. Cut along the lines of the milk to take the form of a container, sew on a button on the top lid to create a button loop closure. It is food-safe, and can save your costs as well.source
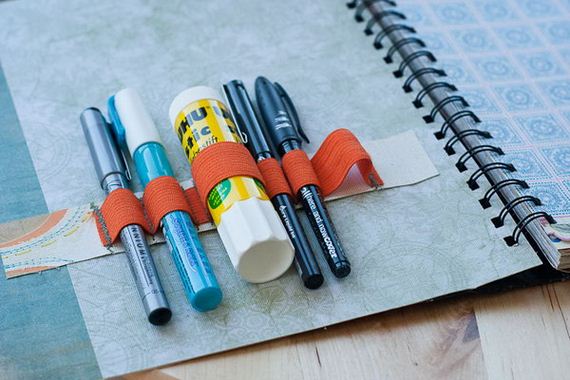
Supply Holder Notebook. Stick a pocket and fill it with journaling pieces. Secure orange elastic on the outside cover with a set of towels to make it more applicable to keep your essentials tidy.source
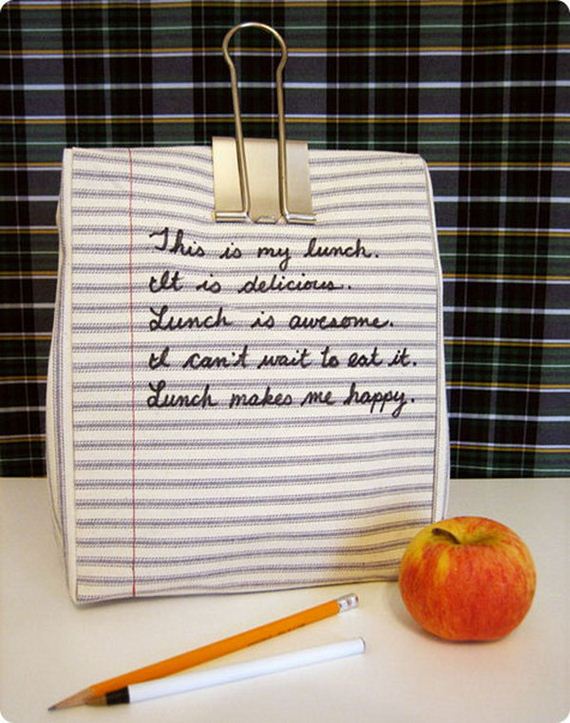
Notebook Lunchbag. Cut out your fabric according to the basic line, sew it together to make every side of the bag. You can write whatever you like to personalize your own in a jiffy with low cost.source
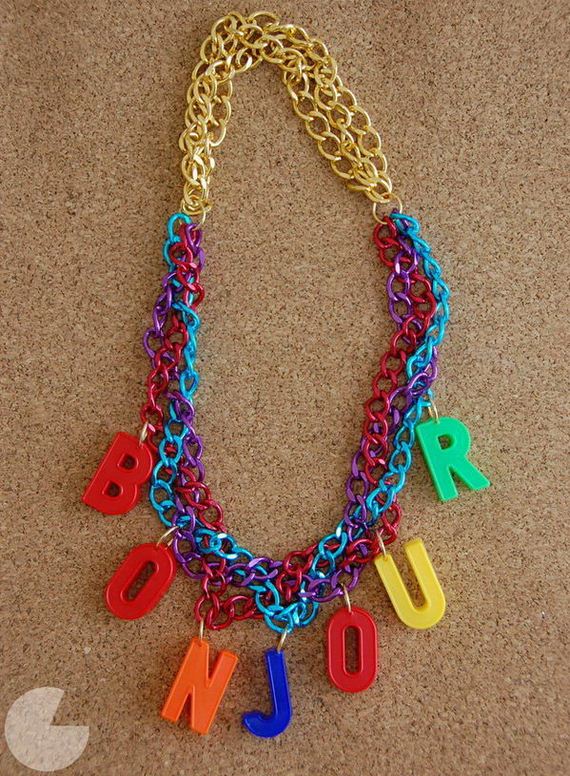
DIY Alphabet Necklace. DIY this stunning alphabet necklace to make a beautiful decor. You can personalize your own with your name or spell out the word you love.source
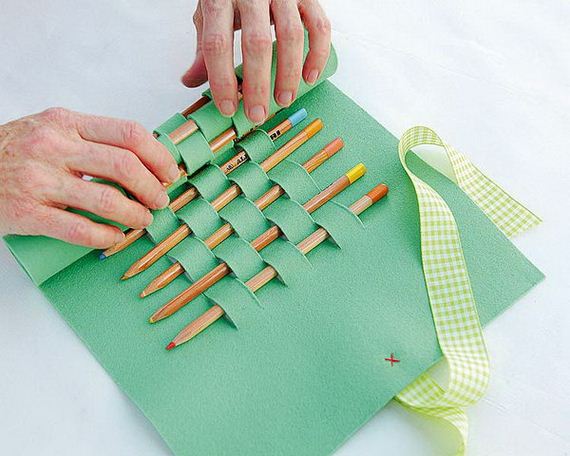
Felt Cutout Pencil Pouch. Cut a piece of felt in straight lines and leave some edges. When cutting is done, put pencils in pockets, sew and tie the ribbon to keep your pencils organized in this fantastic way.source
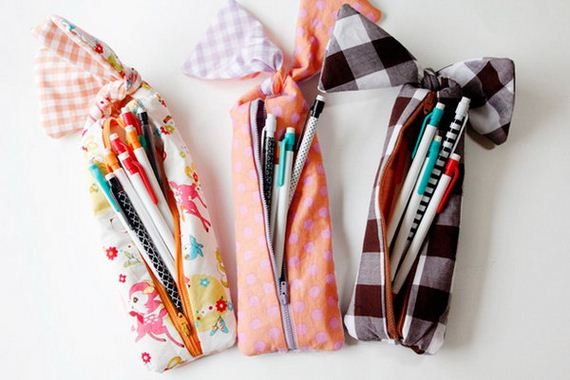
Adorable Bow Pencil Pouch. Sew the lining and main pieces together, insert the zipper and make the bows on the bottom. You’ll complete this adorable bow pencil pouch in this beautiful design to pack your pencils.source
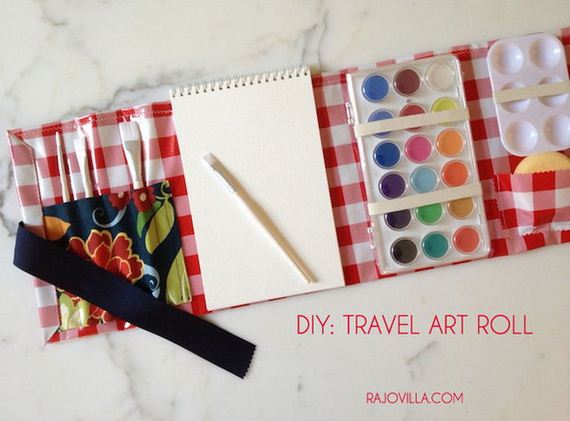
Mini Art Roll. This mini art roll is perfect for you to pack up everything when travelling. It includes a paint brush holder, a sponge pocket, an assembling art roll to get your travelling essentials organized.source
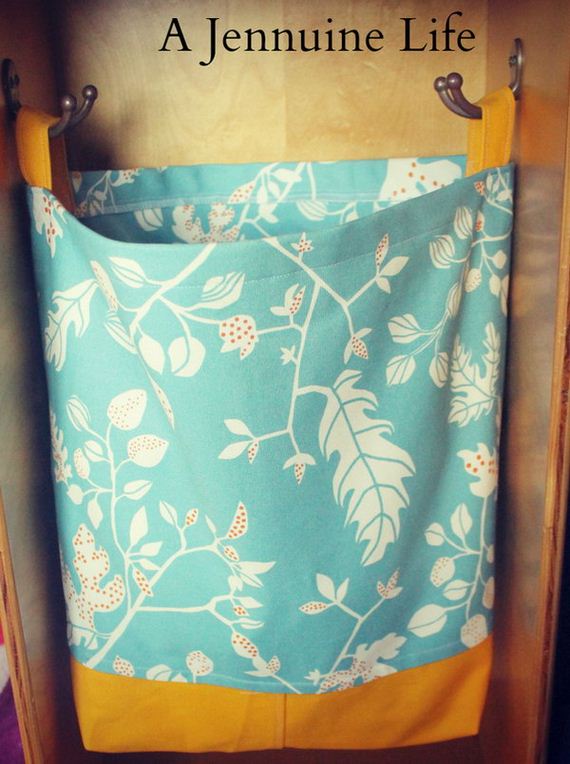
Locker Tote. Sew each side pieces together along the marked line, box the corners of the bottom, pin the handles to the sides from the side seam to keep your kid’s stationary from overflowing.source
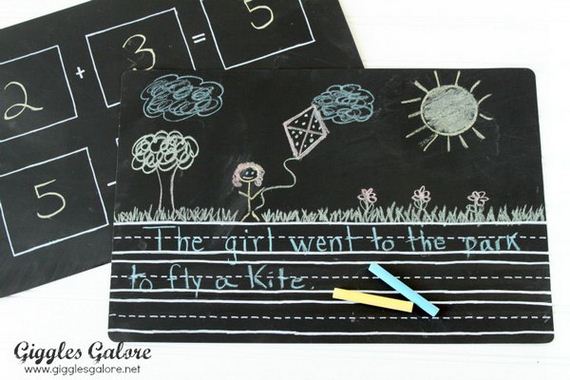
Chalkboard Placemats. Spray paint on both side of the placemat. Draw math problems for the little scholar to practice on one side. On the other, you can create a space to practice letters and writing. It’s useful and good for the scholar to study.source
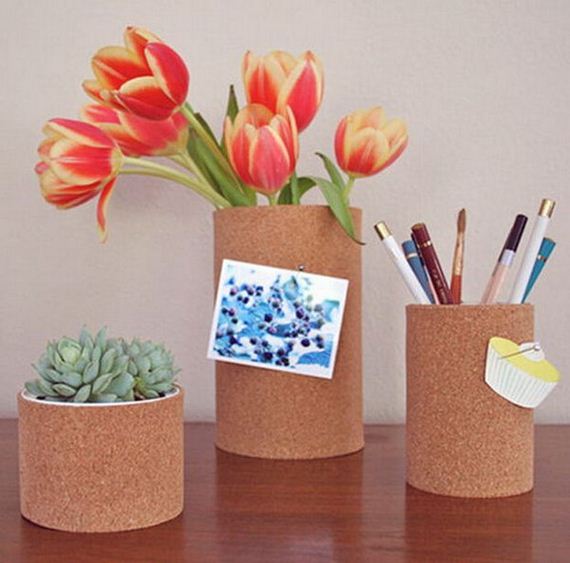
Cork Pencil Holders. Spray paint inside of each can, roll out cork and add thick bead at the end of the roll then pin with clothes pins. Place everything you dream up to get them organized. It’s super chic to add some flowers and plants for a fresh decor.source
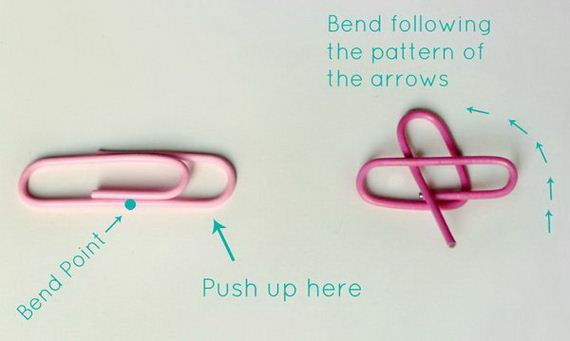
Heart Shaped Paperclips. This beautiful craft is super chic for lazy crafters. Push up the bend point following the pattern of the arrows. It’s so cool to pin your files in a hear shape.source
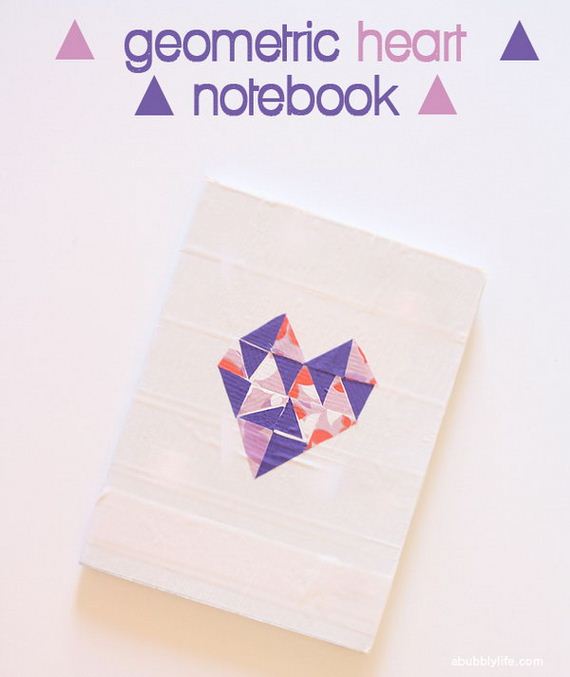
Clipboard Makeovers with Washi Duct Tape. Cut out triangles from Washi and Duct tape and fill the heart with them on the mat in puzzle pieces. It’s perfect to make the note book cover with this geometrical heart design.source
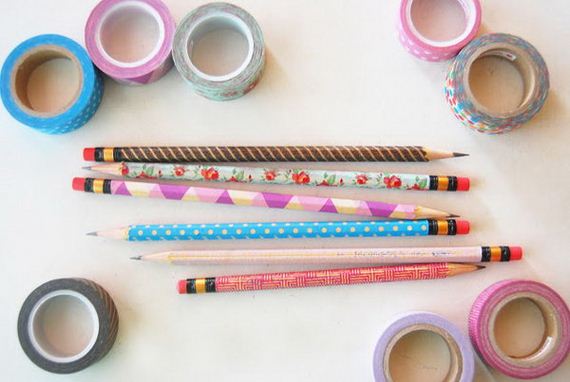
Washi Tape Pencils. Cut a strip of washi tape the same length as your pencil, stick to it and cover it completely. You’ll get this beautiful pencil with elegant pattern.source
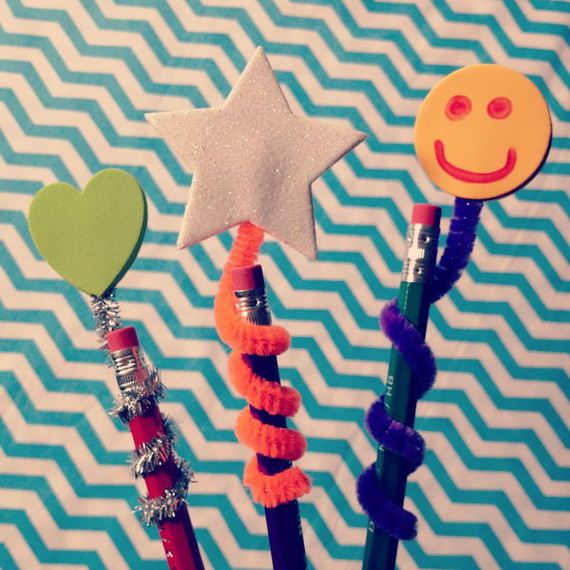
Pipe Cleaner Pencil Toppers. Attach two stickers on the pipe cleaner, line up pipe cleaner with a pencil. It’s so simple to spice up a plain pencil and send the kids back to class in style.source
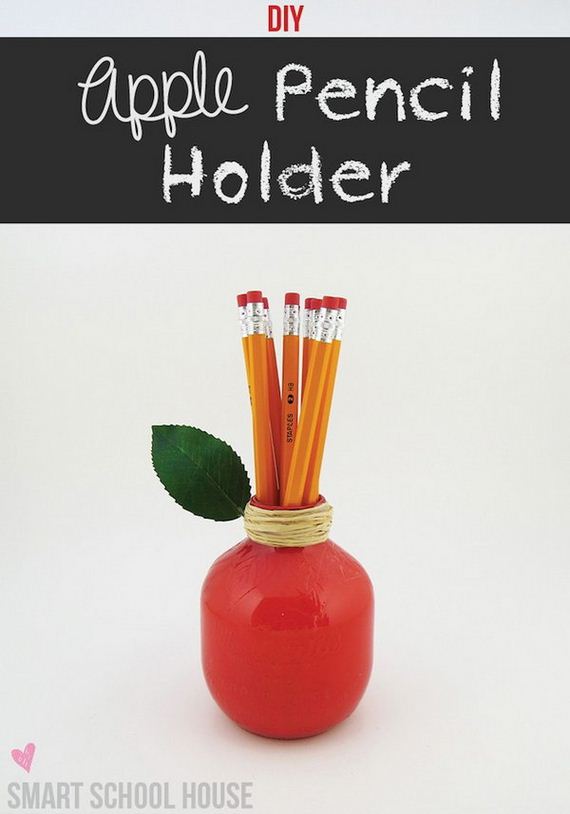
Apple Pencil Holder. Use acrylic paint to paint the glass jar in red, glue the silk leaf around the neck and tie ribbons to fasten the leaf and decorate the neck. It’s fantastic to place your new pencils inside.source
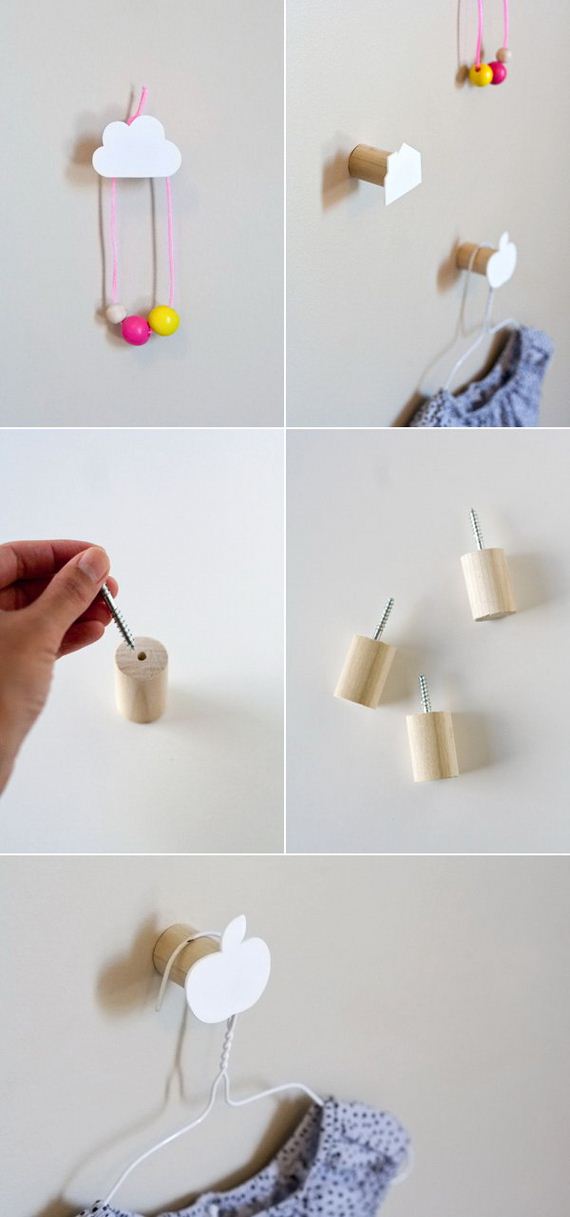
Cute Wall Hooks. Place the wood screw inside the hole of the wooden stick. Attach cardboard or rubber in cute shapes to anchor to the wall to hang your things. Every family must like its adorable outlook as well as helpful usage.source

+ There are no comments
Add yours