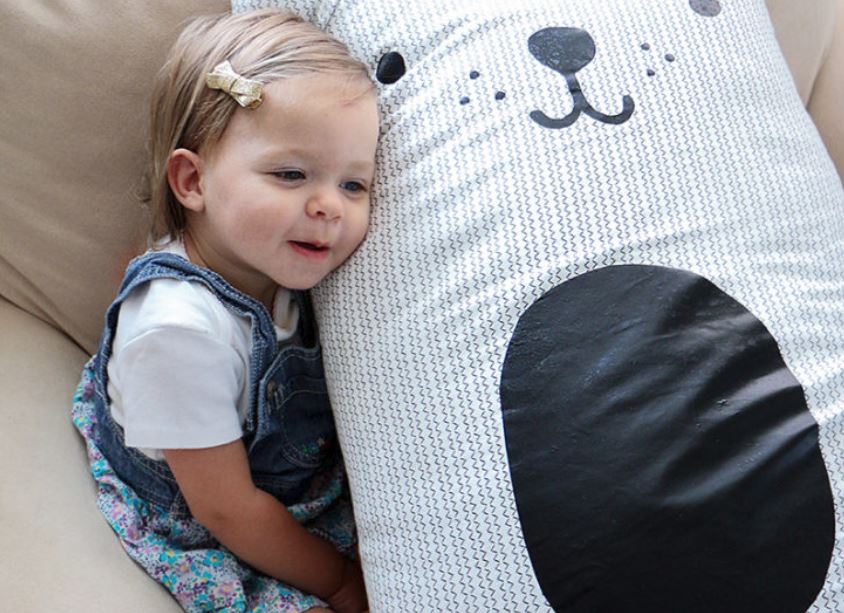
DIY Large Stuffed Bear
Having twins is great since most of the time they entertain each other – I always tell them they are built-in best friends. Lately, they’ve both been really loving this large stuffed sheep in their nursery. The only problem is one will be playing with it and the other one tries to take it away. We are in the stage where sharing is still a foreign concept. Instead of getting another sheep, I thought it was time to create a new friend for them. I ended up making a large stuffed bear so they each have a large stuffed animal to play with!
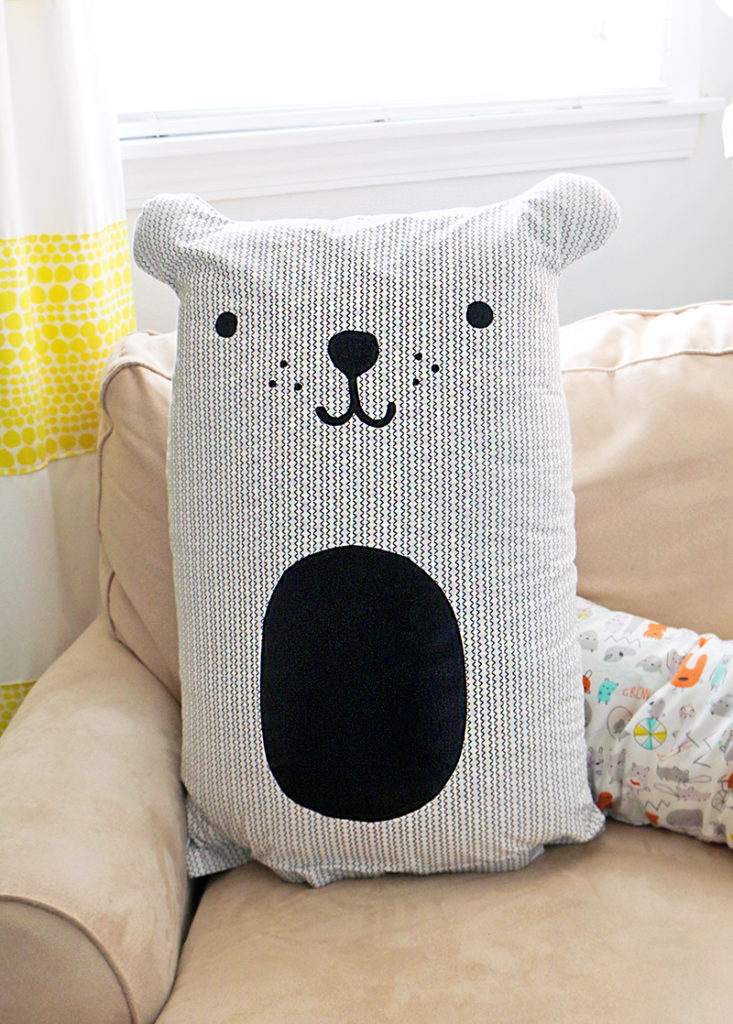
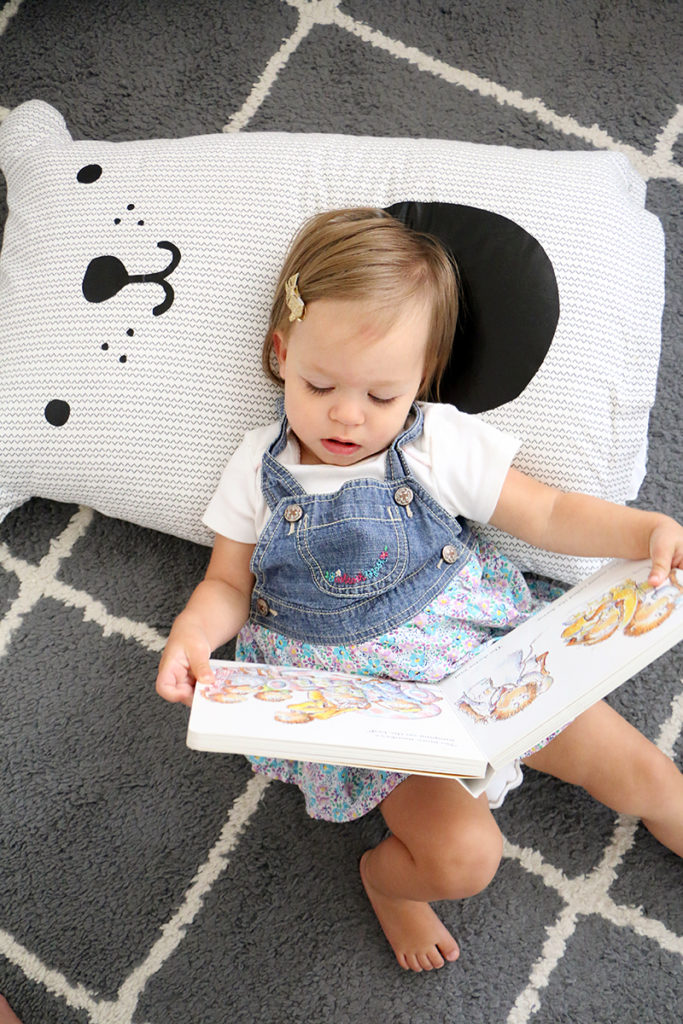
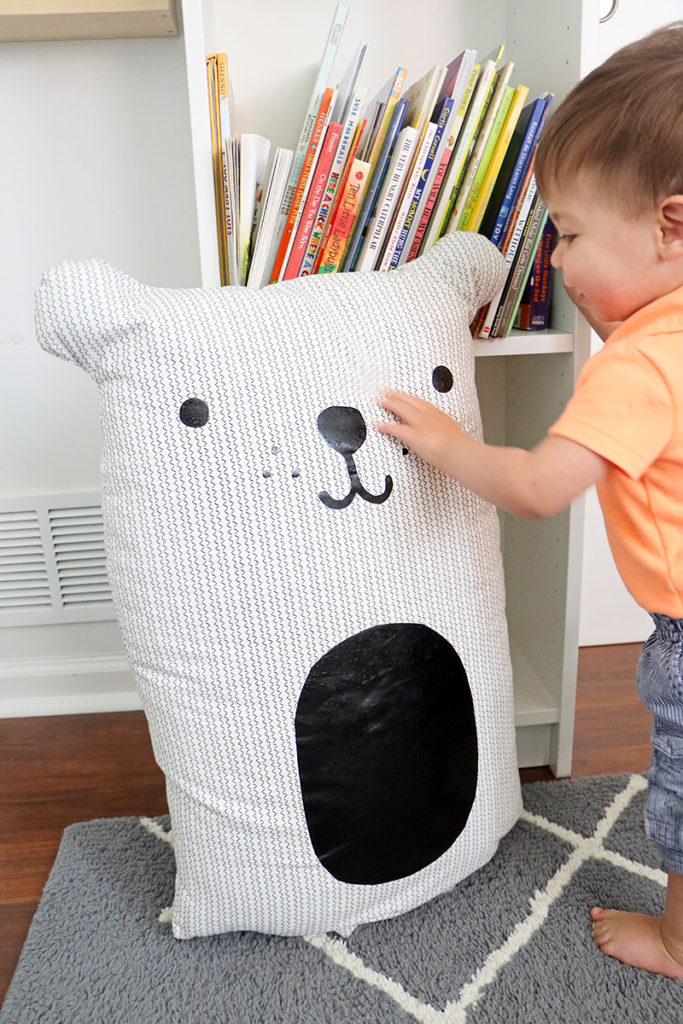
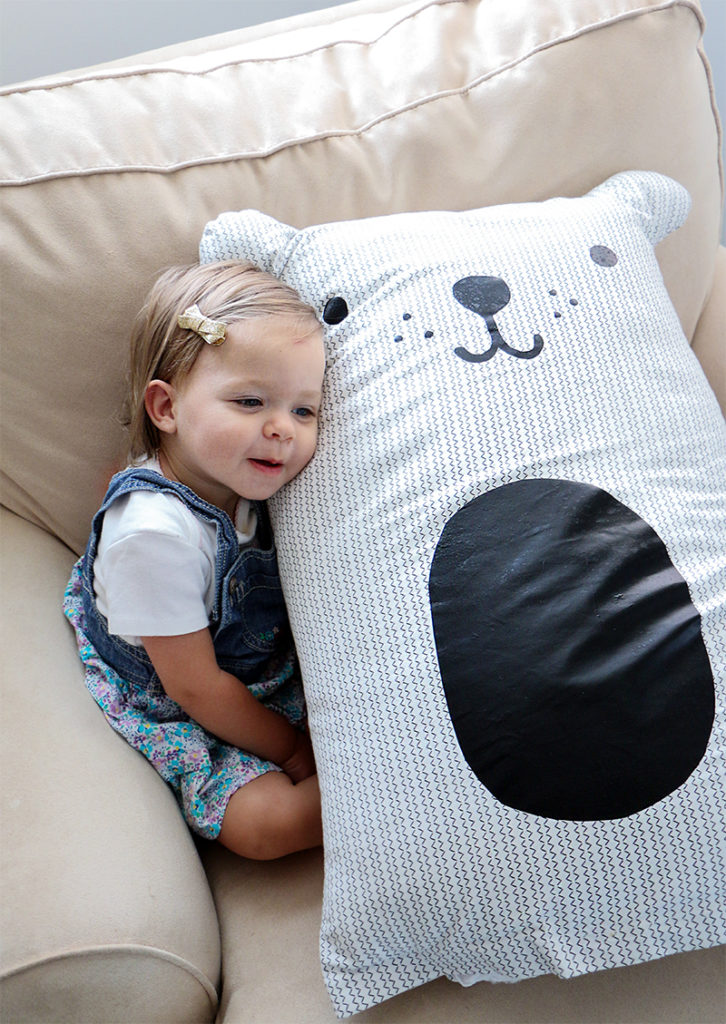
I created my large stuffed bear out of a pillowcase and a pillow. My twins love this bear! They love giving him hugs, laying on him to read, and pointing out his belly and his nose. I love that this simple project that took less than 30 minutes is one of my kids favorite stuffed animals. Since my pillowcase came in a pack of two, I technically could’ve created another one, but then they would never learn the skill of sharing!
Supplies:
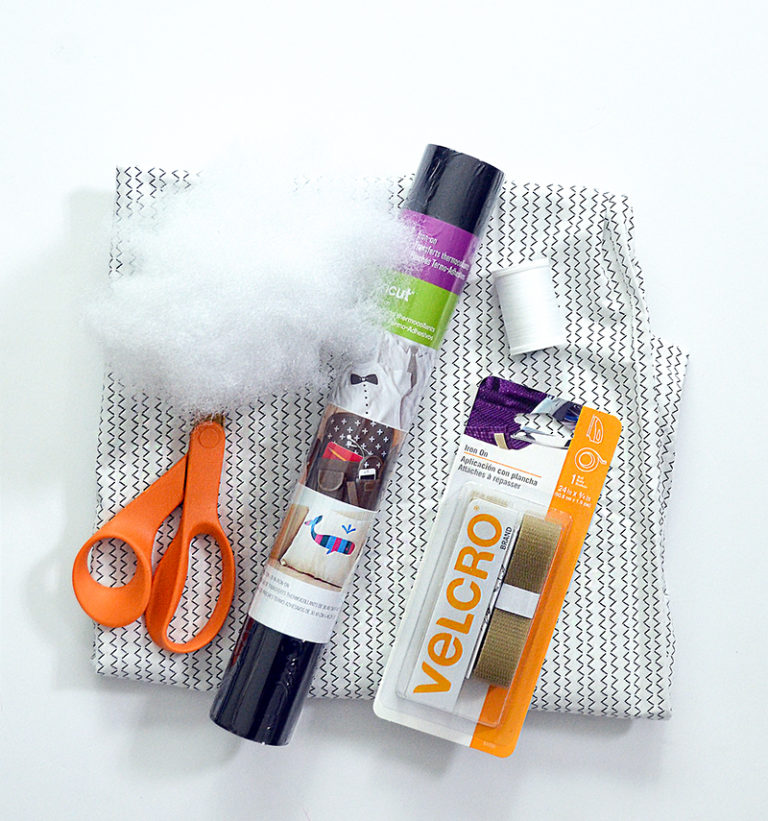
- Large Pillowcase
- Scissors
- Black Iron-On Vinyl
- Iron on Velcro
- Thread
- Batting
- Sewing machine (or you could hand stitch with thread and a needle)
Creating a bear out of a pillowcase:
Step 1: Turn your pillowcase inside out and use a pen or a pencil to create half circles in the top corners. These will be the bear’s ears.
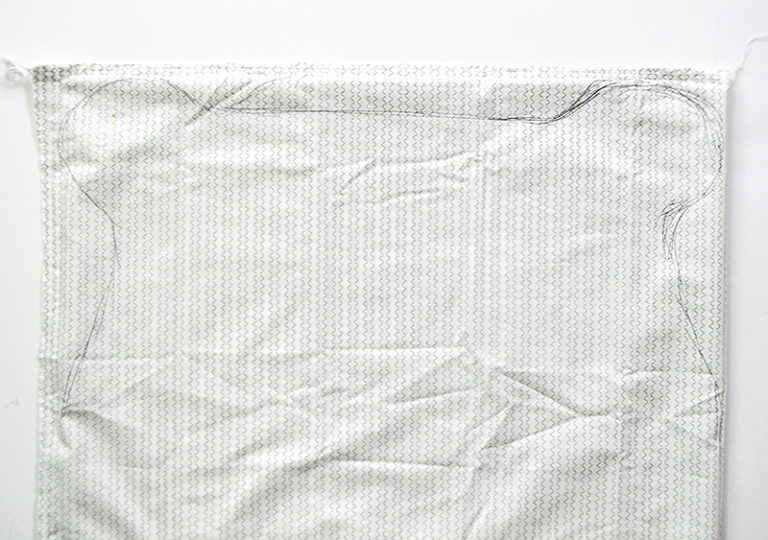
Step 2: Use a sewing machine to go around the ears you created on the pillowcase. If you decided to hand-stitch this, just follow the lines you drew with your needle and thread. Trim off the excess fabric.
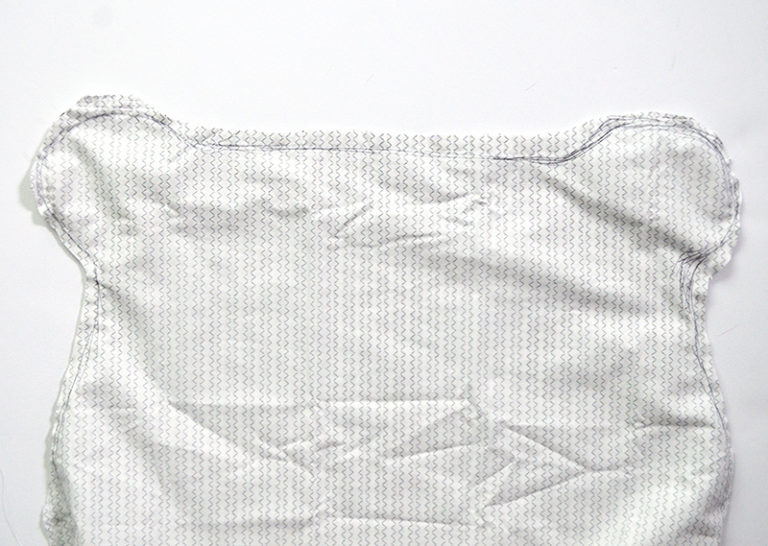
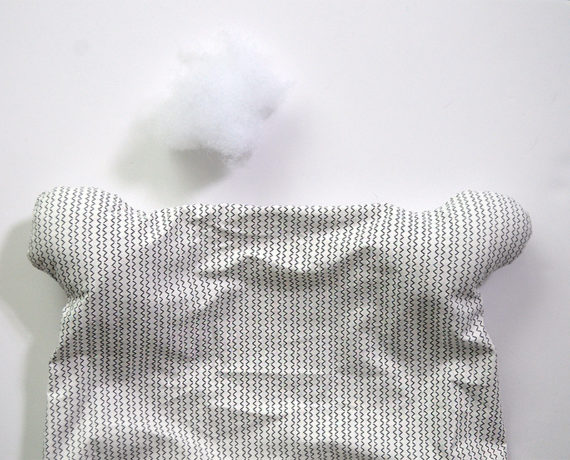
Step 3: Turn the pillowcase right side out and pinch off a handful of batting. Shove the bedding into the ear. You want to add enough batting so the ear is firm. You’ll repeat these steps for the other ear.
Creating your bear’s face:
Step 4: Draw your bear face and belly onto the adhesive vinyl and cut it out.
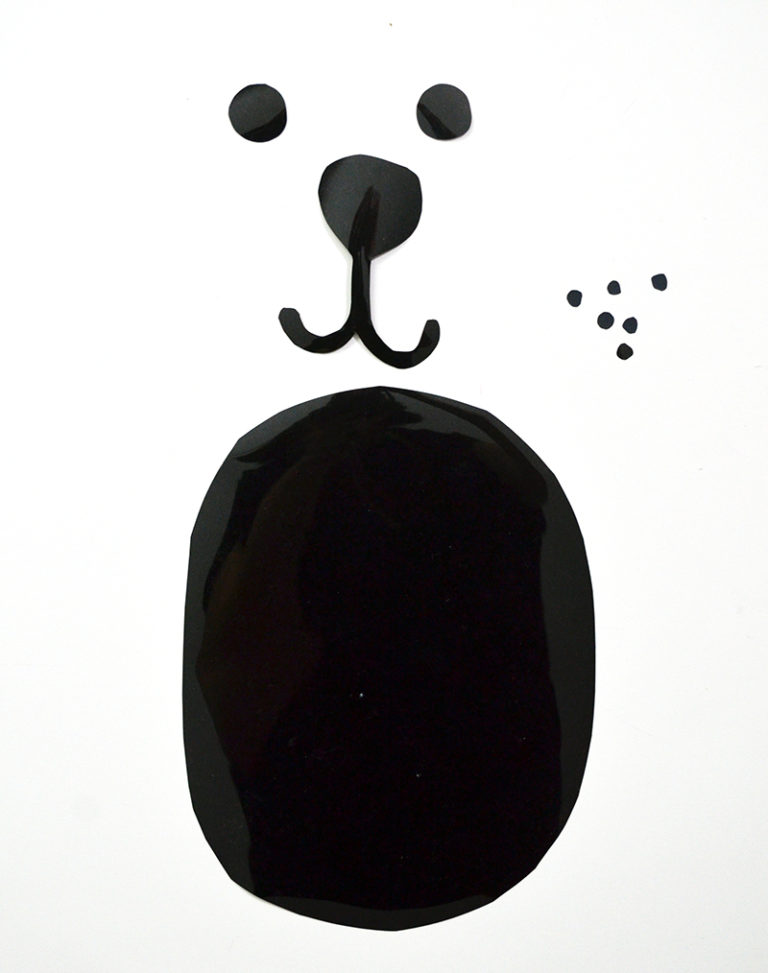
Step 5: Arrange your design on your pillowcase and follow the instructions on the package to iron on the vinyl. Once the design is cool, lightly peel back the protective layer on top.
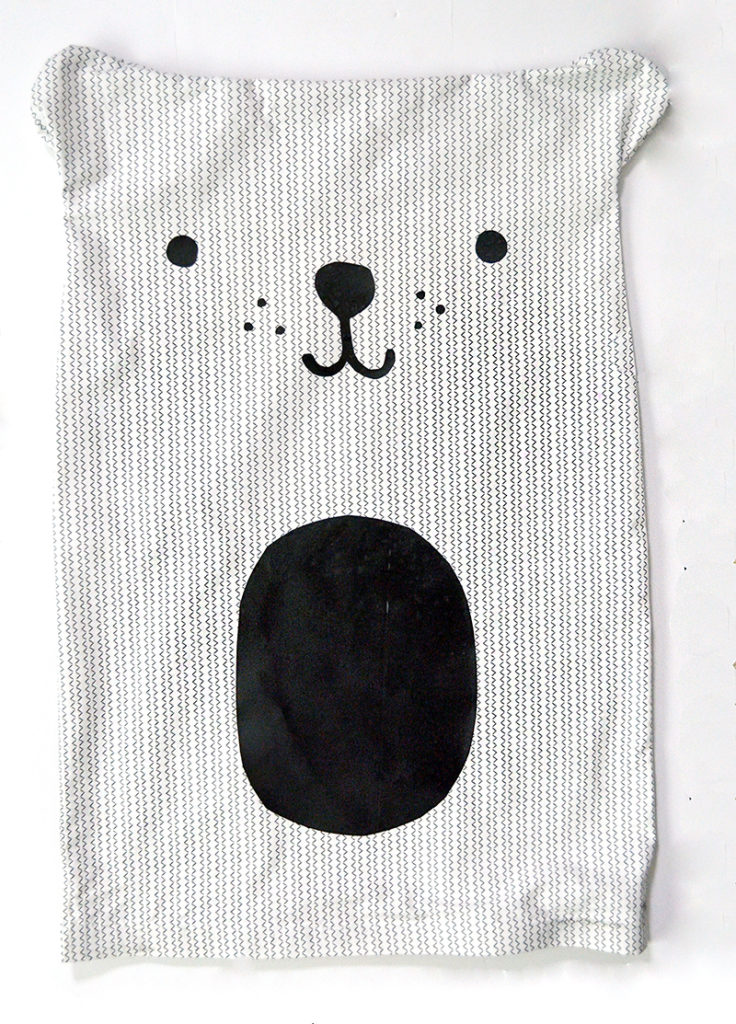
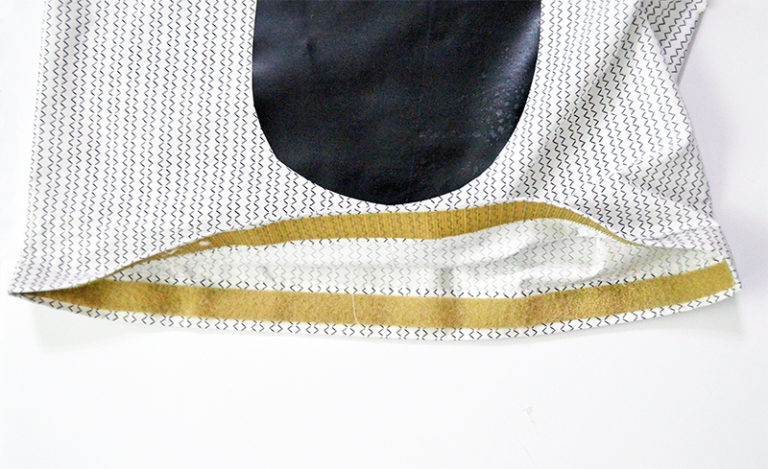
Step 6: If your pillowcase needs to be shortened, trim off the excess fabric, leaving enough fabric that can be folded under twice. Stitch the folded fabric at the bottom so you have a finished edge. Once you have a finished edge, Flip the pillowcase inside out again and lay your Velcro across the bottom. You’ll cut your Velcro so it’s the length of the bottom of the pillowcase. Peel back the liner on one side of the Velcro and stick it to the pillowcase. Follow the directions on the package for ironing the Velcro to your pillowcase. You’ll repeat the same steps to add the corresponding side of the Velcro to the opposite side of the pillowcase.
What I really love about this stuffed bear is the fact that it can be washed! You can remove the pillow and the batting from the inside it’s completely washable. Since my kids are drool monsters and are always snacking on something the pillowcase tends to get dirty rather quickly. It’s nice to be able to pull off the cover and pop it into the washer. Once it’s clean, it’s back in action. This large stuffed bear doesn’t cost much to make and it will be your children’s best friend for years to come!
If you are looking for additional handmade toys for your kiddos, make sure you check out these adorable knitted toys!

+ There are no comments
Add yours