Amazing Ideas For Creating Your Own Headboard
From tufted headboards to painted wood boards, in this article you will find ten amazing ideas. Each of them is budget-friendly and they’re even eco-friendly. This way you will have fun while you create something yourself that won’t empty your pocket!
1. Tufted Headboard
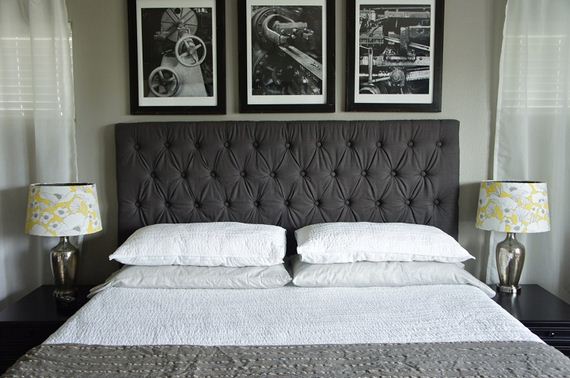
via prettydubs.com
This headboard requires measuring, cutting, drilling, for which you might need a help, but if you’re feeling brave enough DIY completely. The tufted headboard is a great way to make our bedroom appear more classy. If you pick the right color too, it can totally match the room. Note that this isn’t a last minute projects – it will take some time especially if you’re a beginner at DIY stuff.
2. Fabric Headboard
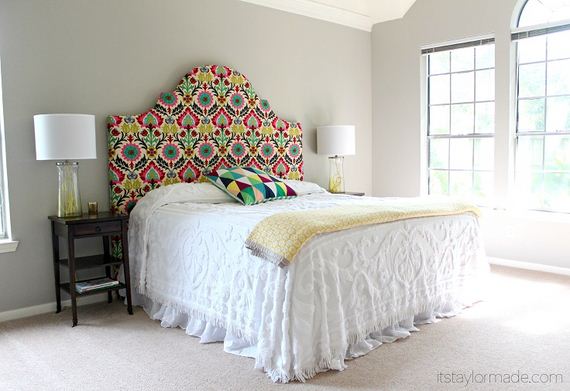
If you are looking for a more colorful way to decorate a headboard, using a fabric would help you a lot. You will have a lot of choice! For this headboard, you’ll need plywood, foam, quilt batting, spray adhesive and fabric. A helpful note – add a muslin or another layer of fabric between the foam and the upholstery fabric in order to get the appearance of total smoothness.
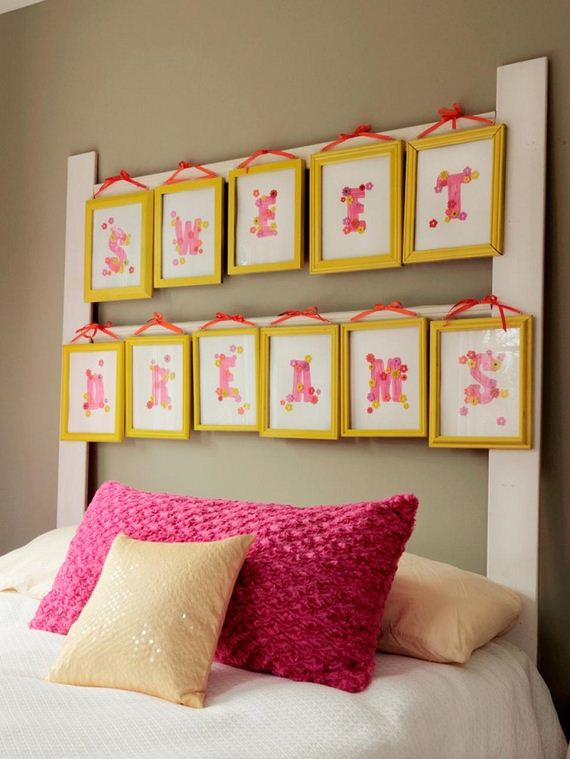
3. Headboard with Personalized Message

via diynetwork.com
No matter if it is a quote you like, a drawing of your child or some art that inspires you, you can turn it to a really creative headboard such as the one on the picture. For this project you’ll need old picture frames, salvaged wood and embellishments of your choice to frame. Luckily, if you don’t know how to do embellishments, there are plenty of options you can buy!
4. Upholstered Headboard
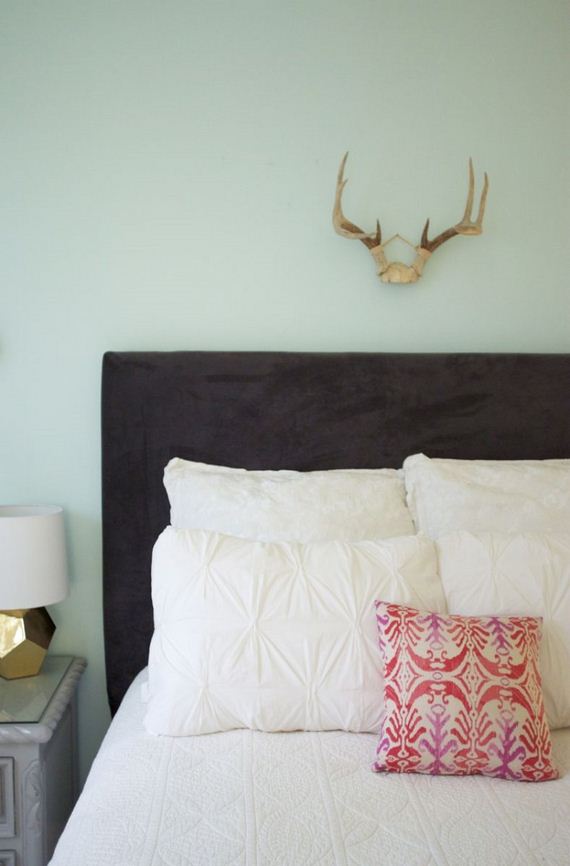
via theeverygirl.com
To make this upholstered headboard, you need 2 2x4s at desired height of headboard from the ground to the top, 2 2x4s for the width, 1 piece of plywood, screws, screwdriver, drill bits, 1/2″ thick foam enough to cover the plywood, batting to cover the plywood and wrap around for stapling, upholstery fabric of your choice, make it same size as batting or slightly larger, staple gun and staples. Simple, yet so beautiful!
5. Door Headboard
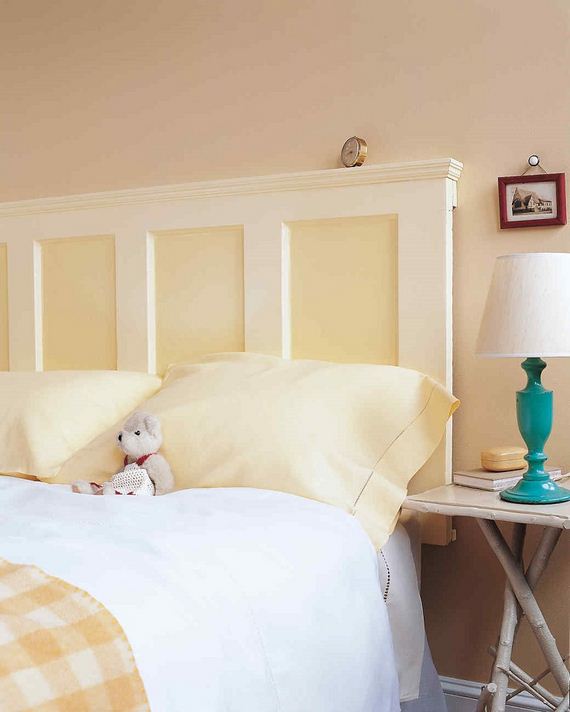
Instead of throwing old stuff from your basement, see if you can make anything out of them. This way, not only you’re doing an eco-friendly project, but you will also save some money. For this project, you just need few materials: sandpaper, primer and paint, mitered crown molding, screw, hammer and screwdriver.
6. Floral Headboard
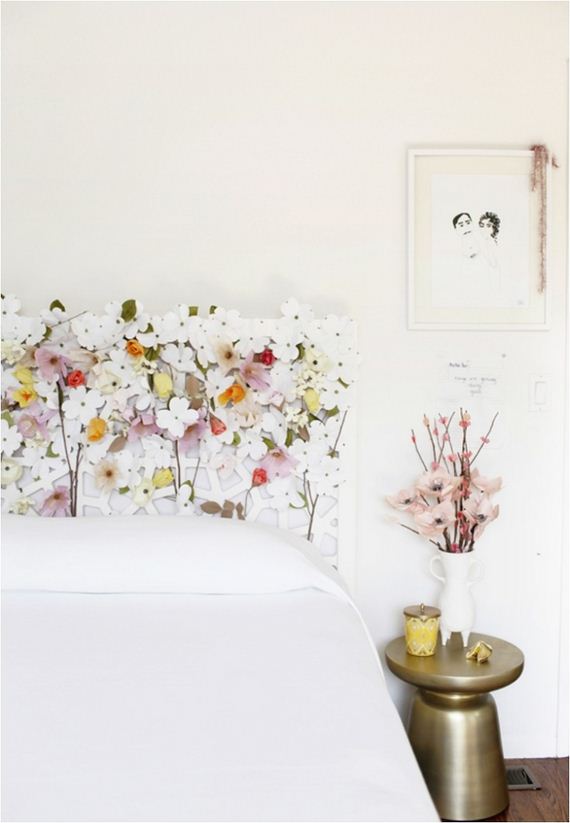
Inviting spring in your home couldn’t be done better than this – this floral headboard will certainly give you good vibes every morning you wake up. To make this project, you’ll need headboard in white, paper flowers, thin white artist tape, thin silver floral wire and wire snips. Of course, if you want to add color in your bedroom, you can switch from white to some bolder color.
7. Vintage Shutter Head Board
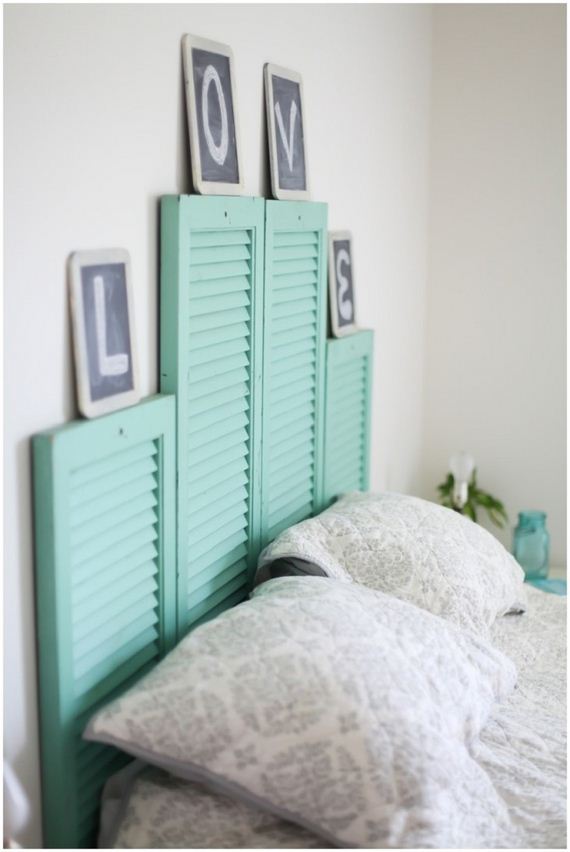
Here’s another eco-friendly project that would help you to create a vintage atmosphere. This project is done with salvaged shutters and you can paint them with color by your choice. Once you have them painted and arranged, you start with more decorating. For example, you can use small chalkboards to place them on top of the shutters – writing something sweet will make it even more nice!
8. Books Headboard
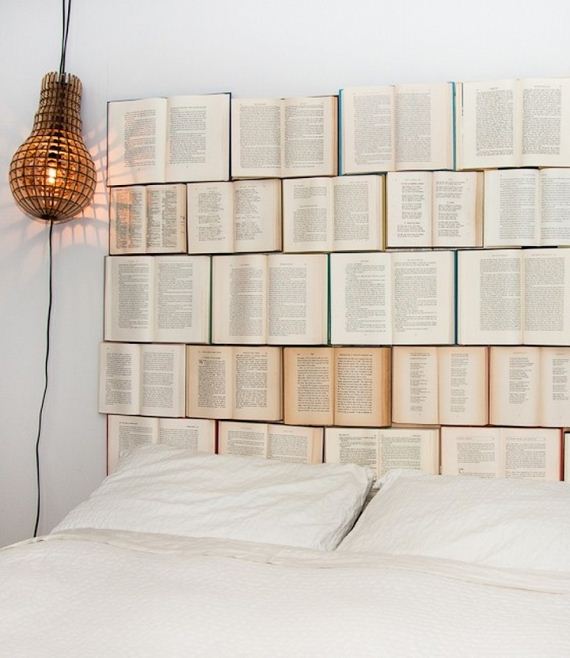
For the hardcore book lovers out there: in case you don’t want to keep books you don’t like, don’t throw them away and used them to create one of the most creative DIY headboards. This headboard can’t get any more eco-friendly than this. Just make sure you attach each of the books well – you don’t want to wake up in the middle of the night being kicked in the face by book!
9. Pine Wood Headboard
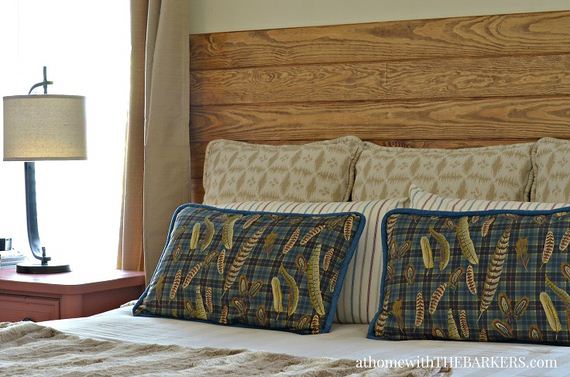
This headboard will help you create a rustic atmosphere. For this you will need wood panel boards and is very important to nail them into a stud so that they are positioned at the same level. This is very simple project that won’t take much of your time, yet it will make a big difference to your bedroom’s look.
10. Vintage Artsy Headboard
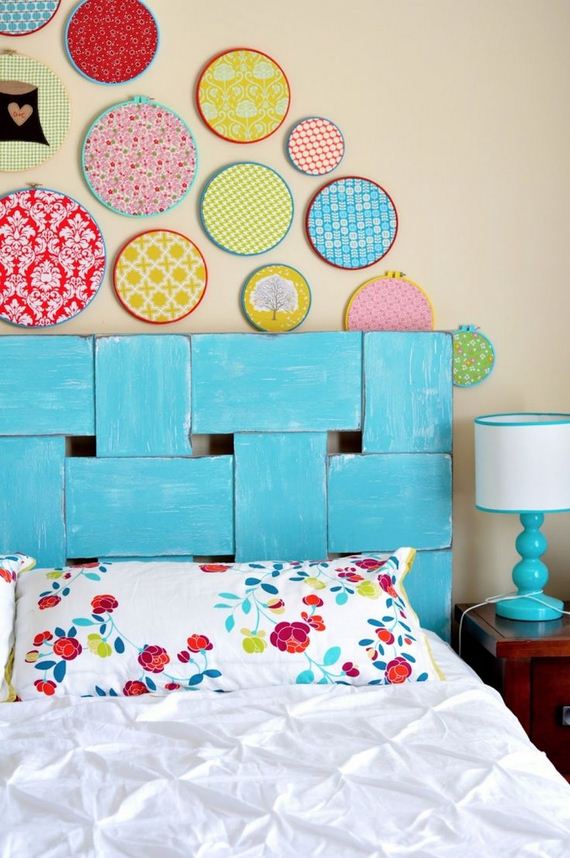
Here’s another vintage idea for your bed. It will be the best if you can buy wood boards already arrange like this or if you have to do it yourself, arrange them according to your taste. Once you’re done with this part, you can paint the wood, let it dry and attach it. To make things even more vintage, add art above your bed.

+ There are no comments
Add yours